Creating personalized handmade candles as door gifts is a charming and thoughtful way to show appreciation to your guests. Candles are not only beautiful and practical but also provide a personal touch that can be customized to fit any event theme or color scheme. Here’s a step-by-step guide on how to make your own candles:

Step 1: Gather Your Materials
To start, you’ll need the following materials:
- Candle Wax: Soy wax is a popular choice for its clean burn and eco-friendliness.
- Wicks: Ensure you have the right size for your container.
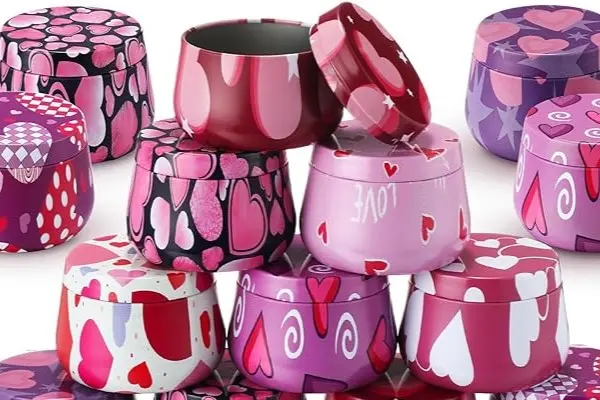
- Containers: These can be jars, tins, or other heat-safe containers.
- Fragrance Oils: Choose your preferred scents.
- Dye: Optional, for adding color to your candles.
- Double Boiler: For melting the wax.
- Thermometer: To monitor the temperature of the wax.
- Stirring Utensil: For mixing the wax and fragrance.
- Glue Dots: To secure the wick to the bottom of the container.
Step 2: Prepare Your Work Area
- Safety First: Work in a well-ventilated area and cover your workspace with newspaper or a protective cloth to catch any spills.
- Heat-Resistant Surface: Ensure you have a heat-resistant surface for handling hot wax.
Step 3: Measure and Melt the Wax
- Measure the Wax: Calculate the amount of wax needed for your containers. A general rule is to fill your container with water and then measure that amount in wax.
- Melt the Wax: Using a double boiler, melt the wax gently. Stir occasionally to ensure it melts evenly.

Step 4: Prepare the Containers
- Secure the Wick: Use glue dots to attach the wick to the bottom center of each container. Ensure the wick is straight and centered.
- Keep the Wick Centered: Use a wick holder or a pencil laid across the top of the container to keep the wick centered as the wax sets.
Step 5: Add Fragrance and Dye (Optional)
- Cool the Wax: Once the wax is fully melted, let it cool to about 180°F (82°C) before adding fragrance oil. This ensures the fragrance binds well with the wax.
- Add Fragrance: Stir in the fragrance oil (about 1 oz per pound of wax).
- Add Dye: If using, add dye to achieve the desired color.

Step 6: Pour the Wax
- Pour Slowly: Carefully pour the melted wax into the prepared containers, leaving some space at the top.
- Fix the Wick: Ensure the wick remains centered and straight.
Step 7: Let the Candle Set
- Cool and Set: Allow the candles to cool and set completely. This may take several hours or overnight.
- Trim the Wick: Once set, trim the wick to about 1/4 inch.
Step 8: Decorate and Package
- Label the Candles: Create custom labels for your candles with event details or a personal message.
- Package the Candles: Place each candle in a decorative box or bag for a polished look.
Conclusion
Your DIY handmade candles are now ready to be given as door gifts! These custom candles will not only light up your guests\' homes but also serve as a warm reminder of your special event.