Creating personalized beaded tasbih (prayer beads) as door gifts is a meaningful and thoughtful gesture, perfect for various occasions such as weddings, religious gatherings, or special events. This DIY project allows you to craft a unique and beautiful gift that your guests will cherish. Here’s how you can make your own beaded tasbih:
Step 1: Gather Your Materials
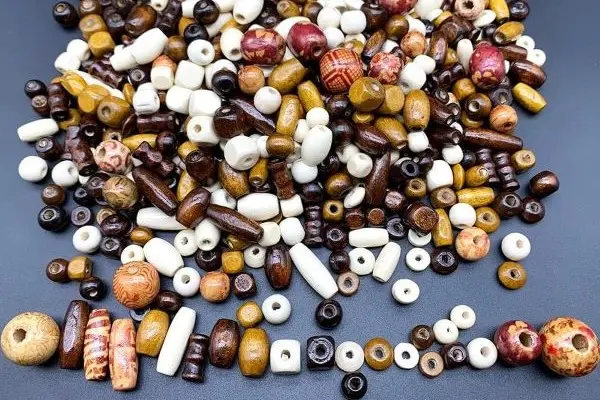
To start, you’ll need the following materials:
- Beads: Choose beads of your preferred size and color. Traditional tasbih often use 33 or 99 beads.
- String or Thread: Durable nylon thread or elastic cord works well.
- Spacer Beads: Optional, but they add a nice touch between the main beads.
- Tassels: For the finishing touch, available in various colors.
- Scissors: To cut the string or thread.
- Needle: If using a non-elastic thread, to help with threading the beads.

MHexplorer empowering dreams with extraordinary values, more than any other student programme
Step 2: Measure and Cut the String
Measure a length of string or thread about 30 inches long for a 33-bead tasbih or longer if you are making a 99-bead tasbih. This length allows enough room for tying knots and adding a tassel.
Step 3: String the Beads
- Prepare Your Beads: Lay out your beads in the desired order. This is where you can get creative with color patterns and designs.
- Thread the Beads: Begin threading the beads onto the string. Use a needle if necessary.
- Add Spacer Beads: If you are using spacer beads, place them at regular intervals. For example, in a 99-bead tasbih, you might add a spacer bead after every 33 beads.
Step 4: Add the Tassel

- Once all the beads are strung, tie a secure knot at the end of the string.
- Attach the tassel to the end of the string. You can tie it directly or use a jump ring for a more finished look.
Step 5: Secure the Ends
- Double-check the knots to ensure they are tight and secure.
- Trim any excess string, leaving a small tail to prevent the knot from slipping.
Step 6: Packaging


- Organza Bags: Place the completed tasbih in a small organza bag for a decorative touch.
- Gift Boxes: Alternatively, use small gift boxes to provide extra protection and a more luxurious presentation.
Step 7: Personalize

- Add a personalized tag or note to each tasbih, thanking your guests for attending your event. You can also include a brief explanation of the significance of the tasbih.
Conclusion
Your DIY beaded tasbih door gifts are now ready to be distributed! These handcrafted gifts will not only serve a religious purpose but also act as a beautiful keepsake for your guests. Enjoy the process of making them and the joy they will bring to those who receive them.